New Patients Welcome!
Your Guide to Teaching Kids Proper Flossing Technique
October 10, 2025
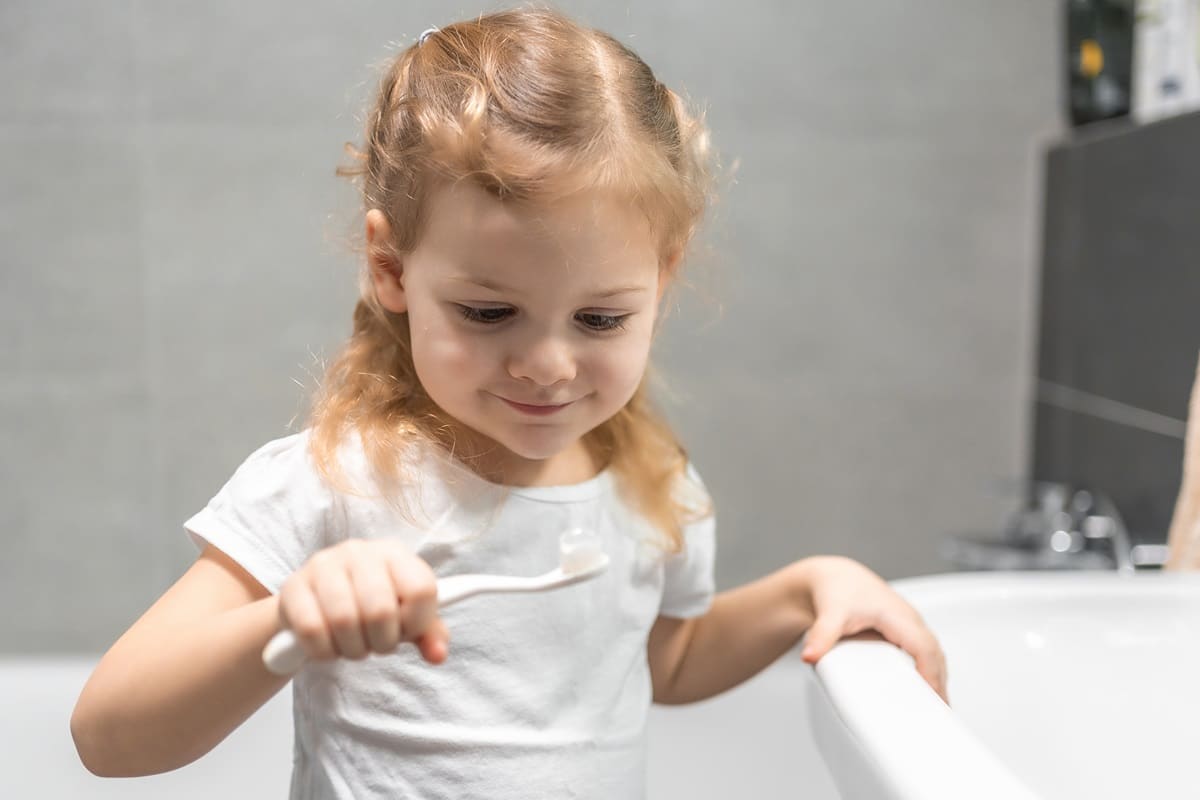
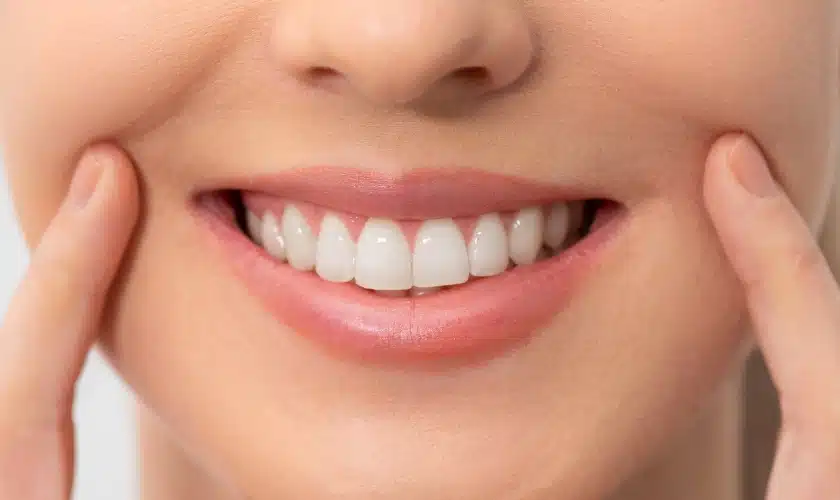
Flossing is arguably the most essential, yet often overlooked, part of a thorough oral hygiene routine. While brushing cleans the surfaces of the teeth, floss is the only tool that can effectively remove food particles and plaque from the tight spaces between teeth and just below the gumline. For children, establishing this habit early is crucial, as it sets the foundation for a lifetime of healthy smiles and significantly reduces the risk of childhood cavities and gum disease.
Why Flossing is Non-Negotiable for Kids
Many parents ask: “When should my child start flossing?” The answer is simple: as soon as two of their teeth touch. This typically occurs when the primary molars erupt, often between the ages of two and three. If you’re looking for personalized guidance on your child’s timeline, our pediatric dentist in Danville is always here to help.
The Benefits of Daily Flossing for Children:
- Cavity Prevention: The tight spaces between teeth are prime breeding grounds for bacteria. Flossing removes this hidden plaque before it can harden into tartar and cause interproximal cavities (cavities between teeth).
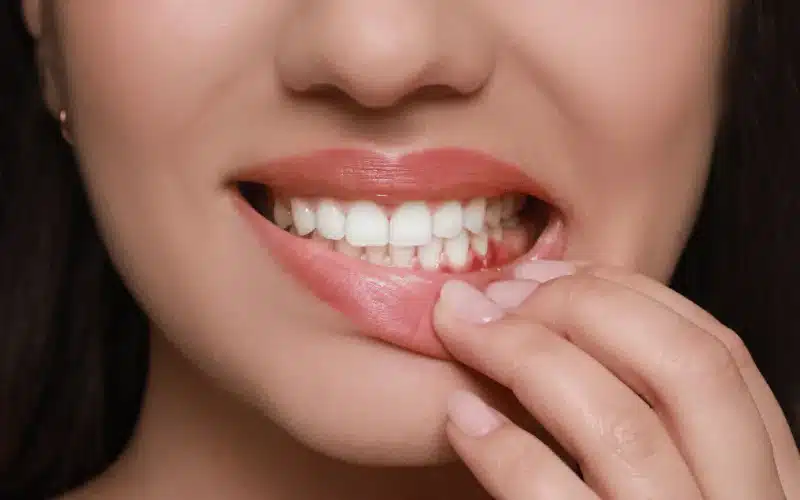
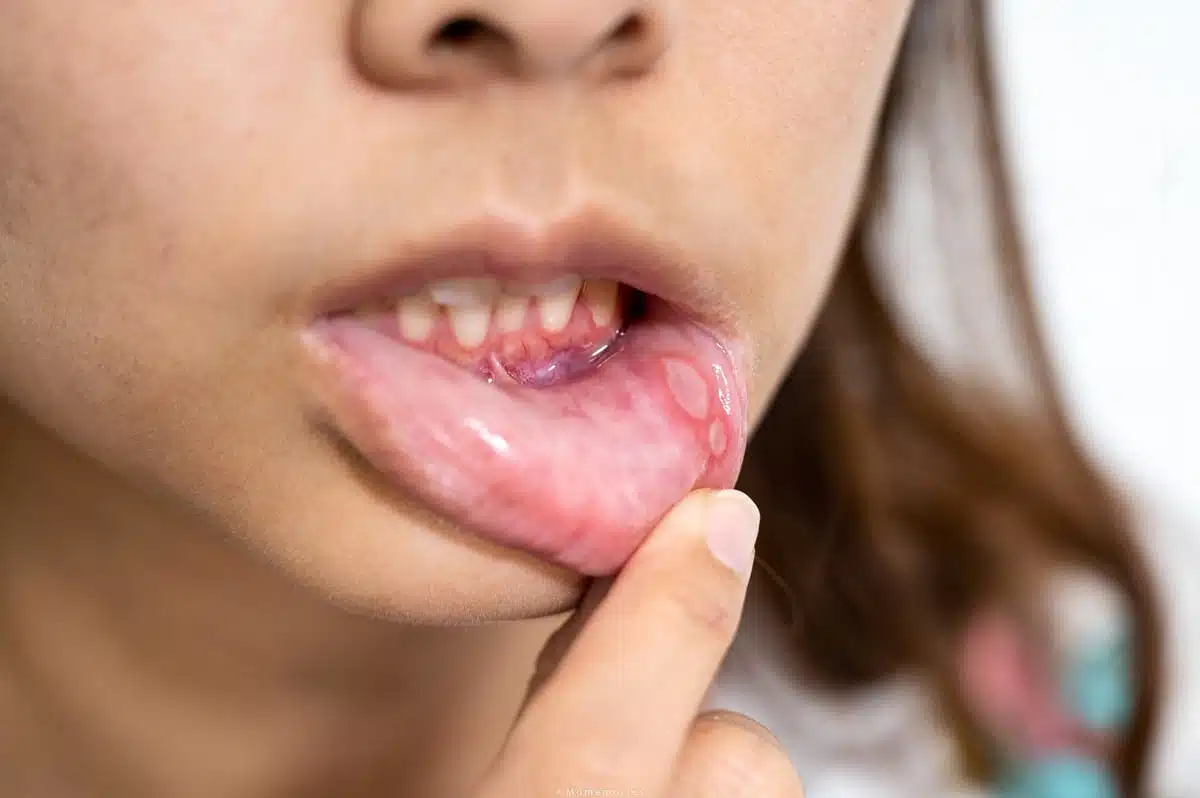
- Gum Health: It prevents the buildup of plaque along the gumline, which is the leading cause of gingivitis—the early stage of gum disease characterized by red, swollen, and bleeding gums.
- Fresh Breath: Flossing removes trapped food debris and odor-causing bacteria that brushing alone misses, contributing to fresher breath.
- Lifelong Habit: Starting early helps normalize flossing, making it a natural, non-negotiable part of their daily routine as they grow older.
Choosing the Right Flossing Tool for Little Hands
Traditional string floss requires a degree of fine motor skill that most children do not possess until they are around eight to ten years old (a good rule of thumb is if they can’t tie their shoelaces, they likely need help flossing). Until then, parental guidance and the right tools are key.
- Floss Picks: These are often the easiest starting point. They’re simple for small hands to grip and often come in fun colors or flavors, making them less intimidating. While they may not offer the deepest clean of traditional string floss, they are excellent for building the flossing habit.
- Traditional String Floss: This is the most effective for a thorough clean, as it allows you to wrap the floss into a “C-shape.” However, it requires much higher manual dexterity.
- Water Flossers: These devices use a stream of pulsating water and are great for kids with braces or those who find string floss challenging. They are fun and effective at removing food particles and cleaning under the gumline.
Tip: Start by using a kid-friendly floss pick to get them used to the feeling. Once they show good dexterity, you can transition to traditional string floss for a more thorough clean. We encourage you to visit our dental office if you’d like a hands-on demonstration of these tools.
The Step-by-Step Proper Flossing Technique
Whether you are flossing for your child or teaching them to do it themselves, the technique remains the same. The goal is not to “snap” the floss into the gums but to gently hug each tooth.
- Get the Floss Ready: Tear off about 18 inches of string floss. Wrap most of it around one middle finger, and a small amount around the other (this finger will collect the used floss). For floss picks, this step is skipped.
- Guide Gently: Hold a small section of floss (about one to two inches) tightly between your thumbs and index fingers. For floss picks, guide the plastic handle to the target space.
- The Sawing Motion: Use a gentle, back-and-forth “sawing” or rubbing motion to slide the floss between the teeth. Never force or snap the floss down, as this can injure the delicate gum tissue.
- The “C” Hug: Once the floss reaches the gumline, curve it into a “C” shape against one of the teeth.
- Clean Up and Down: Gently slide the floss up and down against the side of the tooth, moving it just under the gumline. Repeat this “C” shape and up-and-down motion on the neighboring tooth before pulling the floss out.
- Use a Clean Section: Advance the floss to a clean section (unwind from one finger, wrap onto the other) before moving to the next set of teeth. This prevents the spread of bacteria. For floss picks, you may need multiple picks for a full mouth.
- Consistency is Key: Floss once a day, ideally at night before bed.
Making Flossing Fun and Routine
Consistency is more important than perfection, especially in the beginning.
- Lead by Example: Floss your teeth while your child watches, or better yet, floss your teeth together. Children learn best by mimicking their parents.
- Gamify the Habit: Use a colorful progress chart and a small sticker reward system for every night they floss.
- Let Them Choose: Let your child select their own kid-friendly floss picks, whether they’re a fun color, character design, or mild flavor.
- The Floss Song: Create a short, silly song to sing while flossing to help them time the routine and make it feel less like a chore.
By approaching flossing with patience and consistency, you empower your child with a crucial life skill—one that will protect their growing smile and save you money and stress on future dental bills. If you have any concerns about your child’s flossing technique, don’t hesitate to book an appointment with our friendly team.
Recent Posts

May 15, 2026
Teeth Whitening for Special Occasions: Achieving a Bright Smile for Events and Photos
April 29, 2026
Signs of Gum Problems & When to Visit a Dentist
April 22, 2026
What Should I Do If I Experience Tooth Sensitivity After Whitening?

April 16, 2026
Why Every Family Should Consider Having a Pediatric Dentist
April 7, 2026